스마트폰앱
- 전화 다이얼러
- 모바일 VOIP
- 안드로이드 프로그램
- 아이폰 앱 프로그램
- 네트워크 프로그램
- JAVA 자바
- UI DESIGN
- android JNI
- http post get
- 휴대폰 해외로밍


 친추
친추 카톡
카톡
라인상담
라인으로 공유
페북공유
◎위챗 : speedseoul

In Part 3, I introduced some aspects of object-oriented programming (OOP) for Kotlin. In this article, I will continue to introduce other aspects of OOP.
Interface
We can use interfaces the way we are used in Java. A Kotlin interface method can have a default implementation. Unlike Java 8, which requires the default keyword, Kotlin has no special annotation for such methods: you just provide a method body. Example:
Kotlin interfaces can have properties but these need to be abstract or to provide accessor implementations. Example:
We can implement interfaces in a class look like this:
Kotlin doesn’t support multiple inheritances, however, the same thing can be achieved by implementing more than two interfaces at a time.
Data Classes
Like most other aspects of Kotlin, data classes aim to reduce the amount of boilerplate code you write in your project. Data classes provide compiler-generated equals() , hashCode() , toString() , copy() , and other methods. An example of a normal class:
We create an object from the Person class:
The result can look like this:
Now, we change the Person class to become a data class by using data keyword as follows:
We create an object from the Person class again:
The result can look like this:
If we declare some properties inside Person class body as follows:
Creating an object
The result also looks like this:
This is because the compiler only uses the properties defined inside the primary constructor for toString() , equals() , hashCode() , and copy() implementations.
We also can use the copy() method copy an object altering some of its properties. An example:
Nested and Inner Classes
In Kotlin, classes can be nested in other classes:
A class may be marked as inner to be able to access members of outer class. Inner classes carry a reference to an object of an outer class:
Sealed Classes
When you evaluate an expression using the when construct, the Kotlin compiler forces you to check for the default option. Example:
If you add a new subclass, the compiler won’t detect that something has changed. If you forget to add a new branch, the default one will be chosen, which can lead to subtle bugs. Kotlin provides a solution to this problem: : sealed classes. Let’s look at the following example:
If you handle all subclasses of a sealed class in a when statement, you don’t need to provide the default branch.
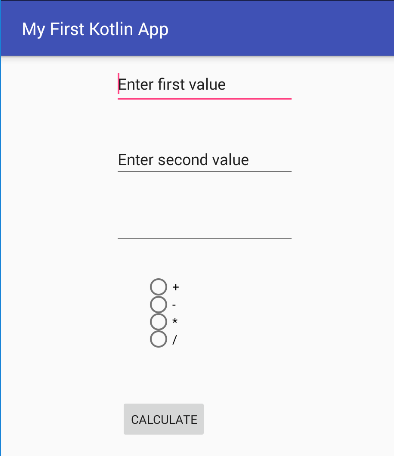
An Android Application
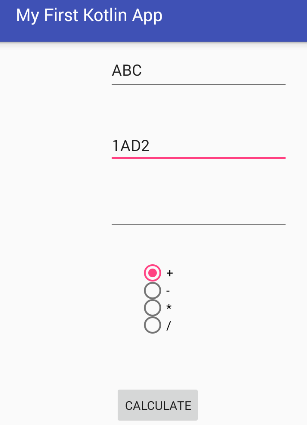
In this application, I created an UI as follows:
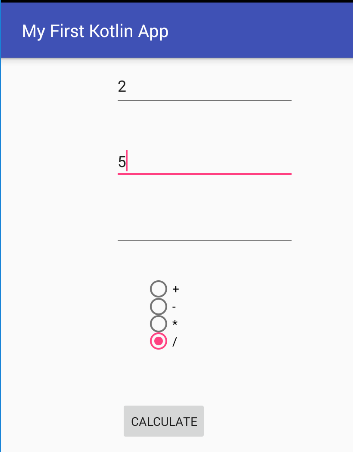
We can input the first value, the second value, and choose an operator as follows:
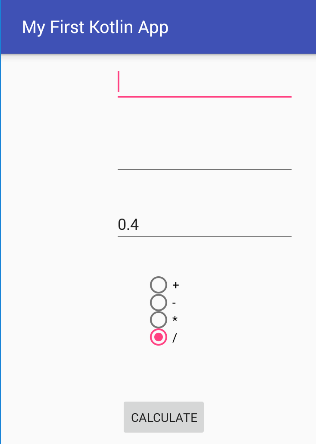
Click the CALCULATE button, the result can look like this:
Some controls are used in this application:
Control | ID attribute | Text attribute |
EditText | value1 | @string/value1 |
EditText | value2 | @string/value2 |
EditText | result | @string/result |
RadioButton | add | @string/add |
RadioButton | sub | @string/sub |
RadioButton | mul | @string/mul |
RadioButton | div | @string/div |
RadioGroup | operators | |
Button | calculate | @string/calculate |
(You can see source code of activity_main.xml and strings.xml files here)
In the MainActivity.kt, the first, I created the sealed class named Expr and its subclasses:
In MainActivity class, I created the eval function:
In OnClickListener, I got some inputs, assigned them to variables, and checked if a string is numeric or not using regular expressions (regex):
The finally, I wrote some code:
I also didn’t forget to set Click event for the CALCULATE button:
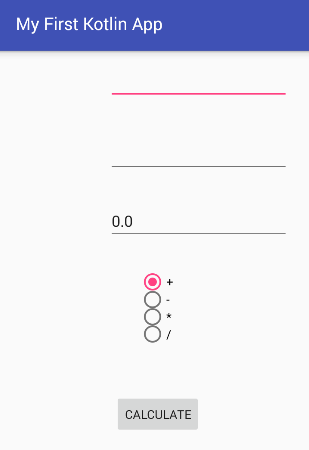
Run application again:
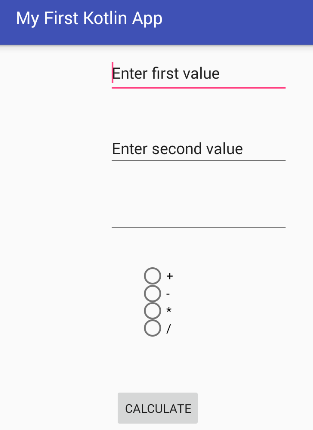
You input texts for the first value and second value as follows:
Choose an operator and click the CALCULATE button, the result looks like this:
Conclusion
You can download my source here and I hope you have a great experience.