


There is a lot that goes into being secure with user data now-a-days. I’ve been playing around with getting a node server setup on a project I am working on because it required Google Places. Google Places recommends that you have a server with a special key (which they provide) hit their servers on behalf of your users. So your servers are hit by your users, and then you ask Google for the data that is needed via your server. Because of this, I was looking into what I would need to have a working server to do what I want. I had never done any server programming before, but I know Javascript so I figured Node.js was a good choice. I had looked at Express for past projects, but never used it do to the restrictions of said projects. The reason I chose Express is because it is built on top of Node.js, but is really good for routing and endpoints (from what I took away when I read up on it).
For my testing purposes, everything I did was set up on my local computer, so I was using localhost as my web address. Because this was just a test for something I will deploy in the future, I didn’t want to test on production machines. My plan is to use DigitalOceanwhen the time comes. So let’s get started.
Getting a Basic Server Set Up
Let’s start with the basics. We will need an Express server that runs on Node. To do this, we will need to get the installer for Node.js. You can use any package manager you want for this, but I’m going to be lazy and say just run the installer. Just head over to Node.js’ website and download the version for your current computer. FAIR WARNING: I’m using OS X, and so Windows users you may have to do something different (Linux users should be fine).
Once you have installed Node, we want to make our first basic server. Here is what we are going to do:
- Create a folder to house our server files, doesn’t matter where it is. I keep all my projects in my
~/gitdirectory. - run
npm initin the directory and follow the prompts. - run
npm install expressto install Express. - Create a new file. Let’s call it
server.js. Open the file in your favorite text editor. I like Sublime.
Once we have our file, we have to declare our imports. We are going to need express, http, https, and fs. express is what allows us to run the Express server and use any API that Express provides us. https tells our server that we accept secure connections, and what ports to listen in on (as well as options to reference keys and certs). And finally, fs is for file system access, since we will need to point our server to where the keys are.
Here is what our imports look like:
var express = require('express');
var http = require('http');
var https = require('https');
var fs = require('fs');
For starters, we just want a basic server. So to do so we are going to create a very basic http server that has no encryption so we can just test that our ports work. That is very easy to do in Express, it looks like this:
var server = express();
http.createServer(server).listen(8000);
Once you have that, hop into your terminal, I like iTerm, and start your server using node server.js (make sure you are in the proper directory so server.js is seen). It should look like this: 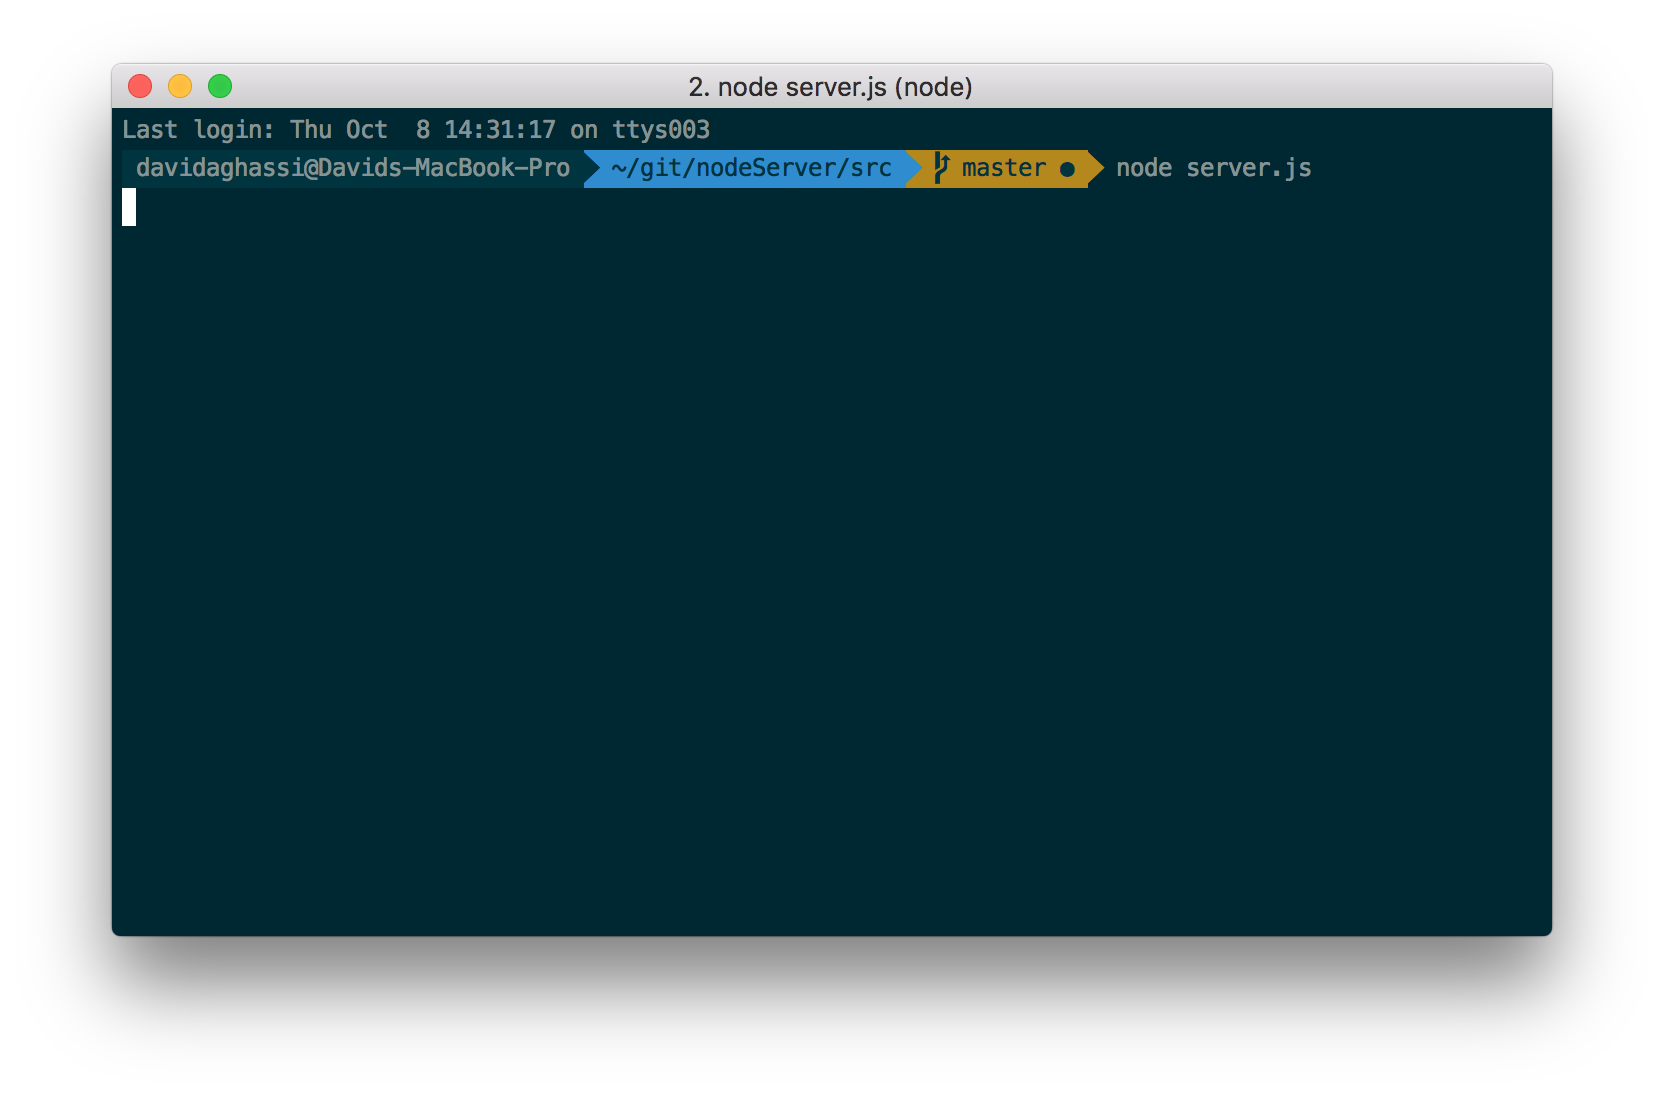
You can now navigate in your browser to http://localhost:8000. You will most likely get a blank page if you succeed because we haven’t told the server what to serve you once you get there. Let’s go tweak that. Add under your server code the following:
server.get('/', function (req, res) {
    res.send("Hello World!");
});
What the above function is telling the server is that when a GET request at /, it should send a response that says "Hello World!". req is the request object being sent, and res is the response object that we are getting ready to send back to the user.
Cool, you can save that, kill your server (that is Ctrl + C), and start it up again. Navigate to the same web address, and you should now see Hello World! displayed.
Creating your SSL Certificates
Awesome! You now have a running server. But! We want to keep our user data safe, so we need to take measures to make sure that we are providing a secure connection for users. So we are going to make an SSL key and certificate so we can verify secure connection with the browser. As a preface, I found the code on how to do this from StackOverflow. You can see the link here.
SSL generation is pretty straight forward, except when you do it wrong (like I did… many times). Thankfully, the post linked above shows how to do it in one line. In your terminal, in the directory we were working in before, type the following (please bear in mind XXX is number of days you want this certificate to be valid for):
openssl req -x509 -newkey rsa:2048 -keyout key.pem -out cert.pem -days XXX
Something to note is that this is considered a self signed certificate. This means that no authority has validated it, and your browser will warn you about it when you access your page. This is fine for local testing, but for a production environment you should always have a legitimate certificate from a good provider.
We can break this code down just so we have an idea of what we are doing (fair warning, I ripped this from the StackOverflow link above):
req- utility used to request the certificate.-x509- tells the computer we want a self signed certificate and not to actually request one from a certificate authority.-newkey- takes a paramaterrsa:n-bits. It will generate a new key and certificate with RSA encryption ofn-bitsthat are passed in. Here we are passing in the request for RSA of 2048 bits.-keyout key.pem- puts out a key file that is the same name as the argument being passed to-keyout. In this case, we are generating a key file namedkey.pem.-out cert.pem- puts out a file (in this case a certificate) with the name being passed to-out. Here we are certificatecert.pem.-days XXX- how many days the certificate should be for. Defaults to 30 days.
Run this in your terminal, and you will be asked some questions reguarding your certificate during creation. Answer ALL of them. Make sure that when asked for the following:
Common Name (e.g. server FQDN or YOUR name) []:
You specifcy localhost. If you were rolling out to a production server, this would be the name of your server address. If you specifcy a passphrase, you will want to remember what it was so you can reference it later. When you are done, you can verify that you have your key and cert generated by typing ls in your terminal.
Enabling HTTPS on Express
Jumping back to our server.js, we are going to add a couple of lines to let the server know how to handle a secure request. First thing we want to do is create a JSON object that we pass with the key and cert in it.
var sslOptions = {
  key: fs.readFileSync('key.pem'),
  cert: fs.readFileSync('cert.pem')
};
If you had a passphrase, you will want to add passphrase: 'yourPassPhrase' to this object after the cert line. The only downside to this is that we want to read the file system synchronously, hense readFileSync() as our function. This could mean hold ups if this takes a long time, but in most cases you should be fine. Once you have that, we are going to reference the https object we created earlier. Under the http.createServer we are going to to use the same command.
https.createServer(sslOptions, server).listen(8443)
Here we are telling the server that if it is asked for an https connection on port 8443, it should use the ssl options we provided it and then respond as normal. So now if you save your file, you can restart your server in the terminal, and go to https://localhost:8443 in your browser and see your “Hello World!” web page. You will most likely be warned about how your certificate is not properly signed, just hit ok and proceed to the web page.
06/06/2016 - Revised with typo correction courtesy of Robert.